
Tiling the teahouse roof
While on holiday I visited Coyle Timber Products in Bath and met with Joe Coyle the founder who showed me making the hand-made oak shakes by splitting 13" oak sections of oak trunks. He also told me the basic principles of laying the shakes and managing the ridges. I ordered 20 square metres of tiles.
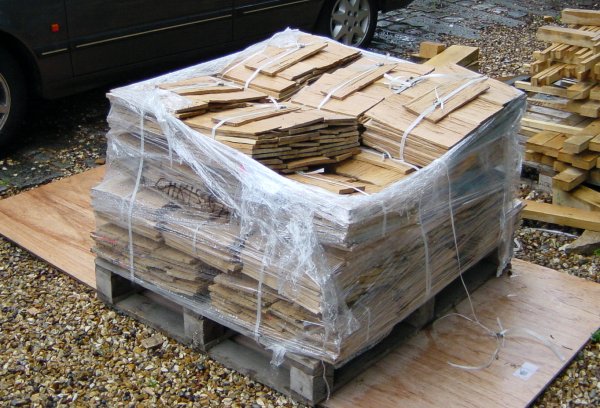
The tiles after delivery
The ridge tiles are lain with the grain running parallel with the ridge
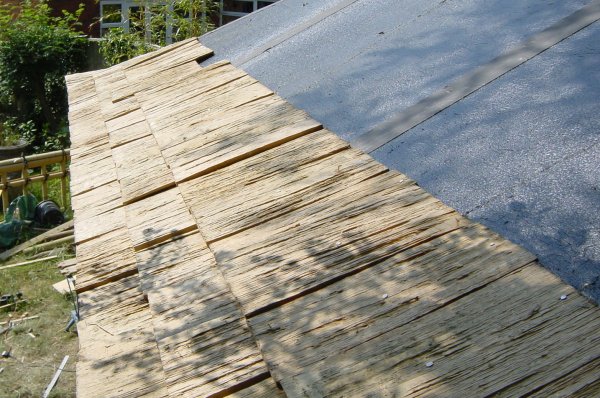
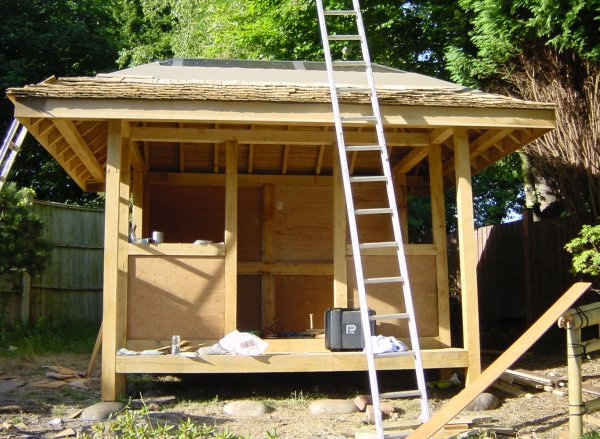
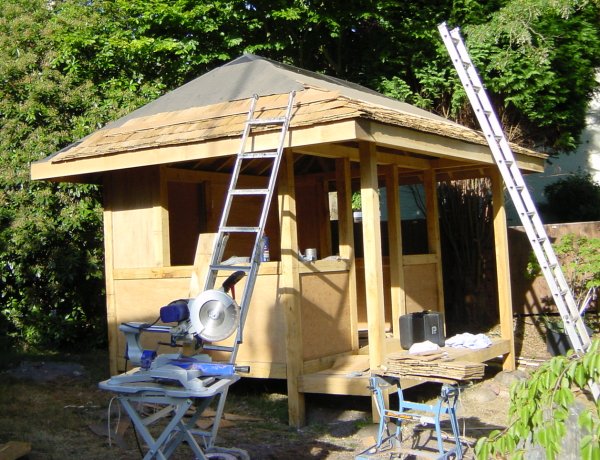
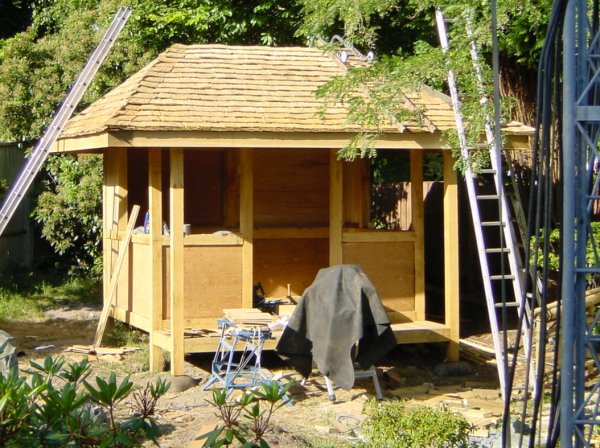
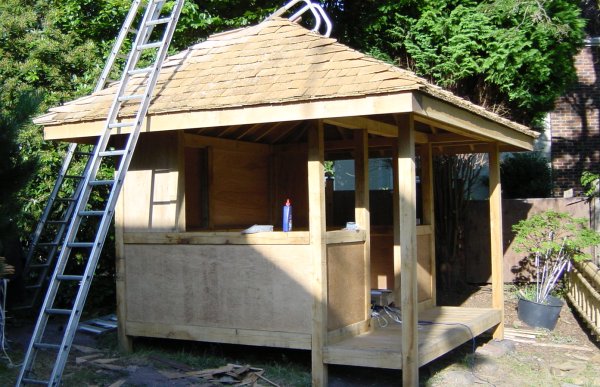
I started to tile the roof today - wow! this is going to be a challenging task! I thought it was going to be easy - I was wrong!

Laying the first row 1/2 a tile length in height overhanging the roof by 2"

The 1/2 length row again
The second row 2/3 of a tile length on top of the half length
Using a 5" spacer board to mark the position of the first full height row.
The third full height row
I thought I was doing so well at this point and then I tackled the first ridge at the far end... More on this later as the challenged really started then! (Whoops, forgot to nail one.)
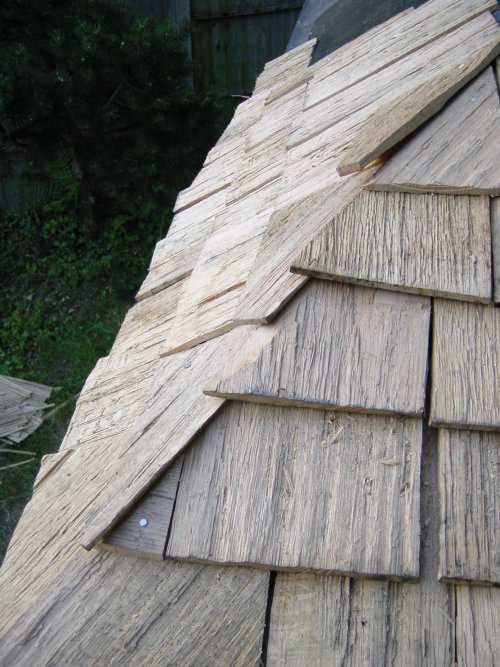
My first attempt at the ridge - front
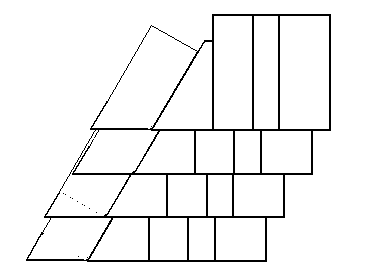
Definitely practice will make perfect (I hope). In practice, each row of tiles should overlap in the opposite direction alternately e.g. front - side - front - side. To prevent cracking of tiles, each ridge tile on the front of the roof is angled with the grain parallel to the ridge and the tile next to it is cut to a triangle to fill the gap. This works very well. Whereas, the side of the roof is done differently as shown below. This was because I made the mistake of making the angle of the roof sides different to that of the front and the back - it would have been much easier if they were both at the same angle. Oh well!
My first attempt at the ridge - side
The first five rows on the front of the roof
Coming along!
Coming along from the side!
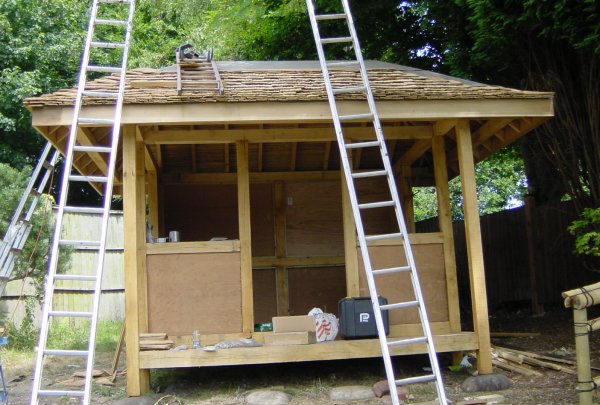
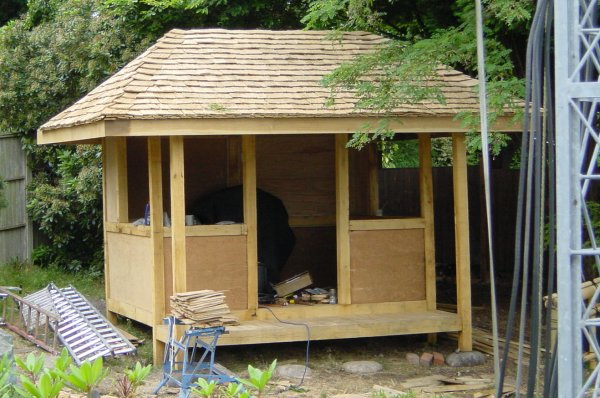
3/4 of the front of the roof completed
And, much of one side

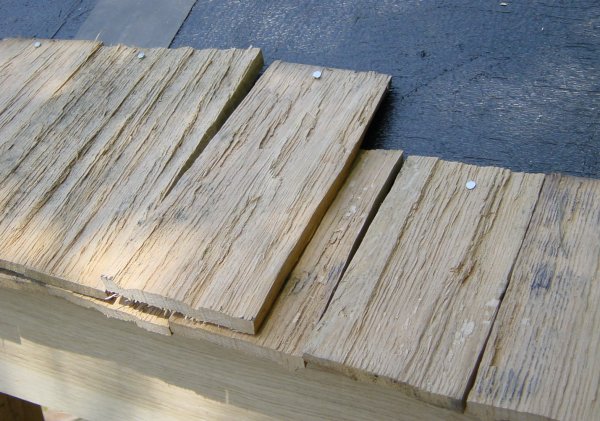
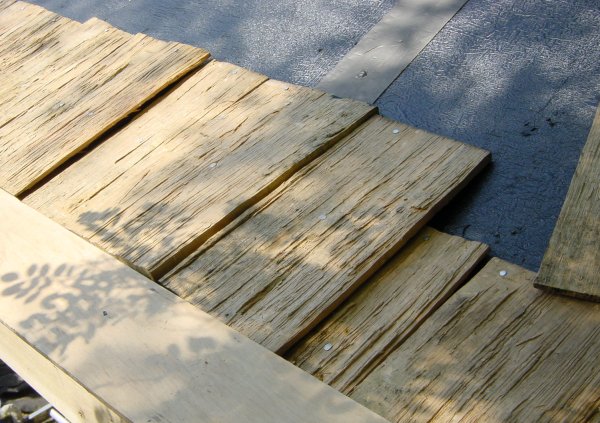
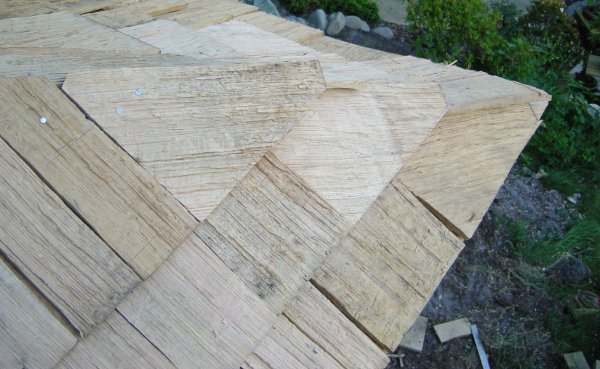
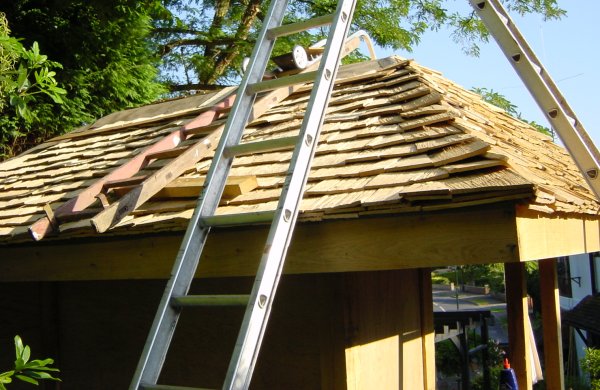
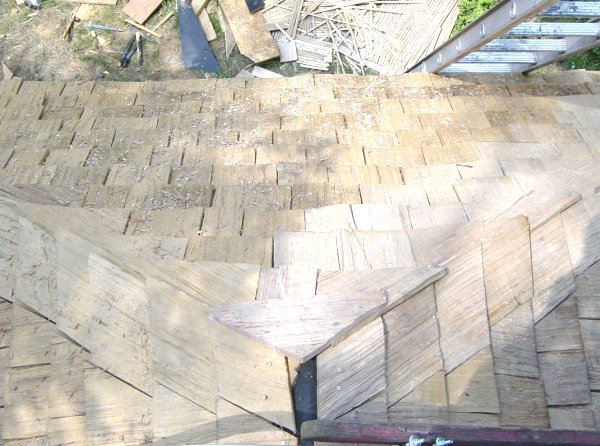
Close up of the top of the roof showing the cut tiles
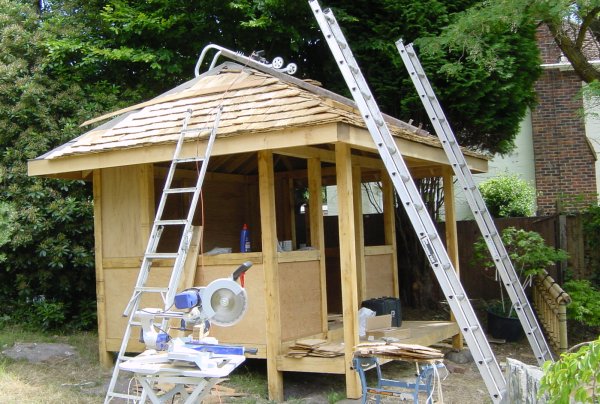
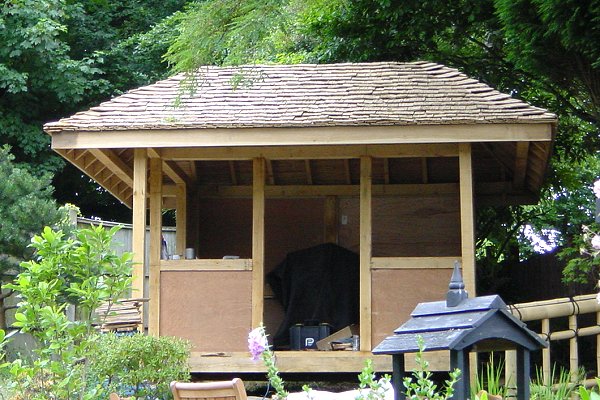
The font looks to be nearly completed and everything I wanted it to be!
Spent the WHOLE day doing the front RHS ridge and the other side! For some reason, this proved particularly challenging, however, it came good in the end. Just the back, and the back two ridge to complete now.
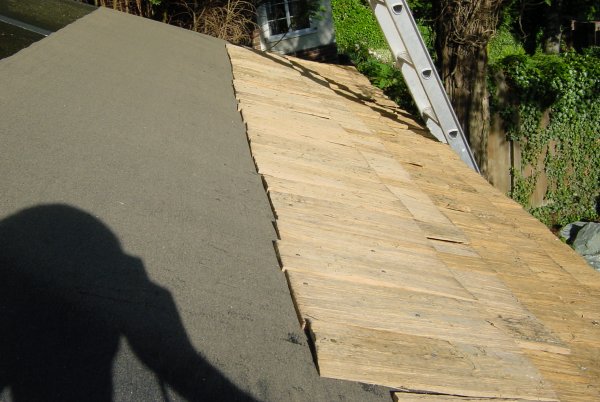
Tiling the roof (just the back to do now)
Soon be working on the bamboo or copper gutters I think
Spent 11 hours completing 85% of the back of the roof. It took a long time because there are two ridges to complete. Hopefully I should finish it tomorrow.
The back of the roof
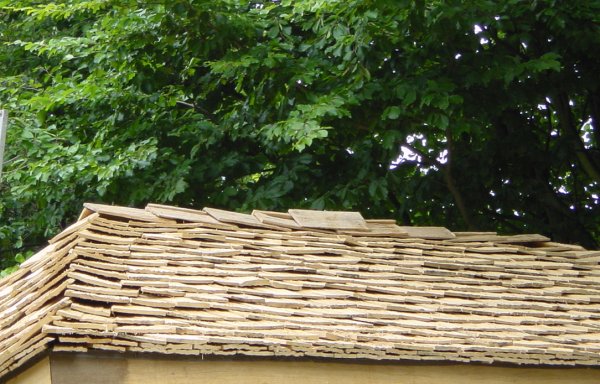
The back ridge nearly complete
Completed tiling today; all that needs to be done is to complete the hip at the very top of the roof.
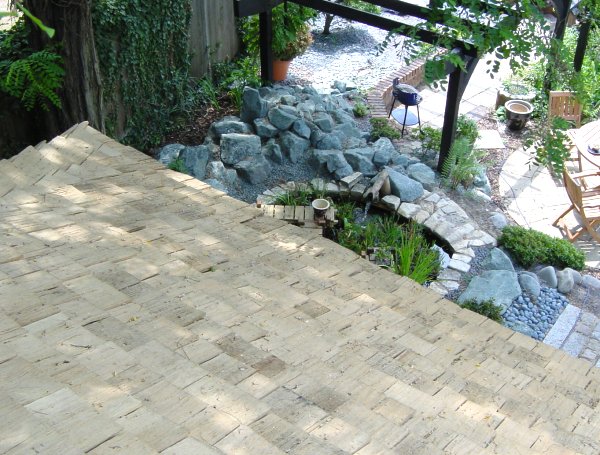
Looking down at the iris pond
The left hand side as seen from the roof hip
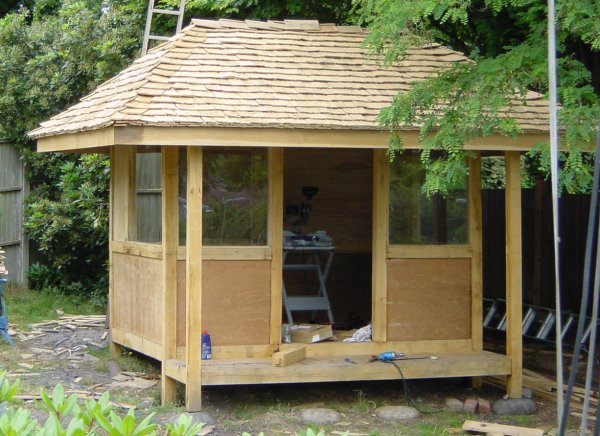
Very pleased; it has been tipping down with rain here and not a leak in sight - phew!
Finished the roof by placing the hip tiles. So, the roof is finished!
All done!
Guttering is next I guess!