
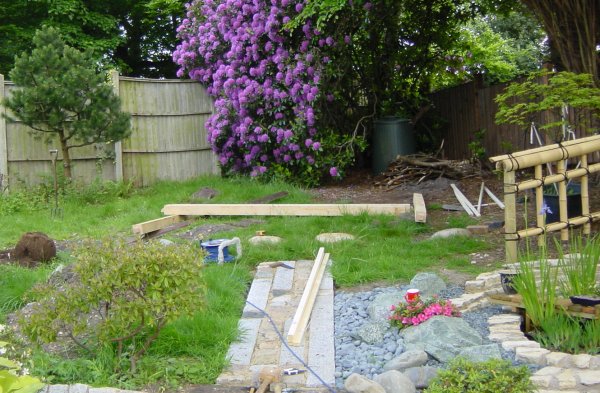
Starting the on-site assembly
Now comes the time to mark out the mortises in the six uprights - each are different so care is needs to be taken to get everything correct!

The reference hole for the A2 upright
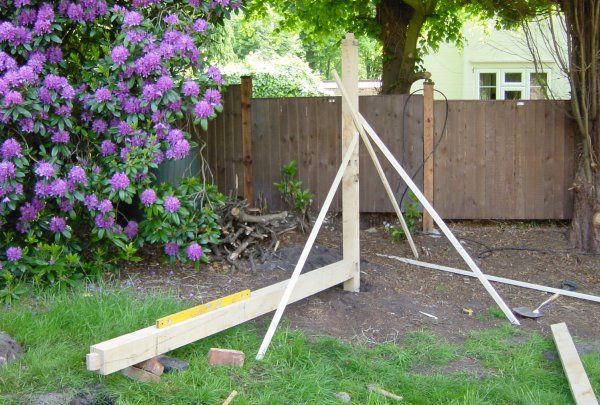
Bring the pieces to the site - 3m of 5" x 4" oak is rather heavy
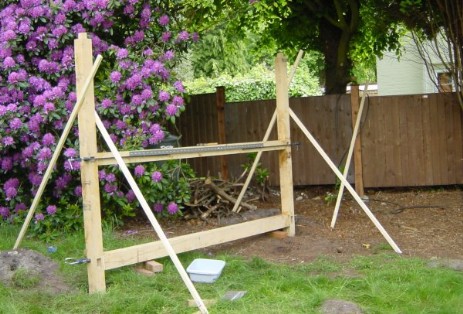
Starting with upright A2 followed by floor joist F3
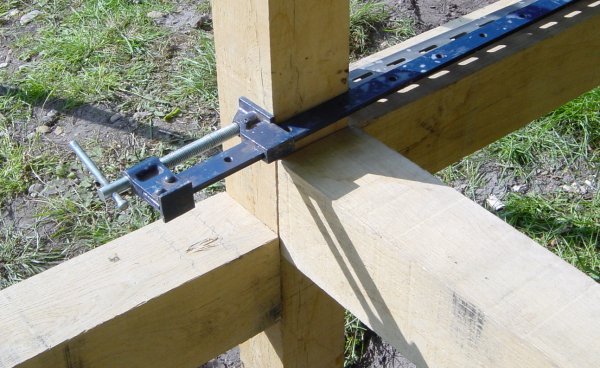
W3 is now added and the assembly glued. Oak pegs will be eventually used.
The two sides were added without gluing to see if they fitted - they did!
A view of the middle upright with the porch joist slotted in temporally
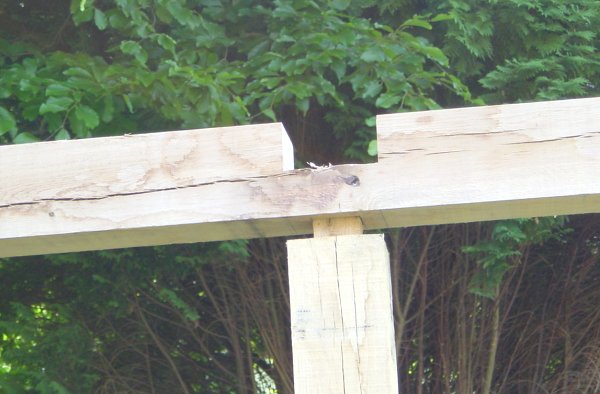
Close-up of the shoji lintel on upright A1
Now comes the hard work this weekend!
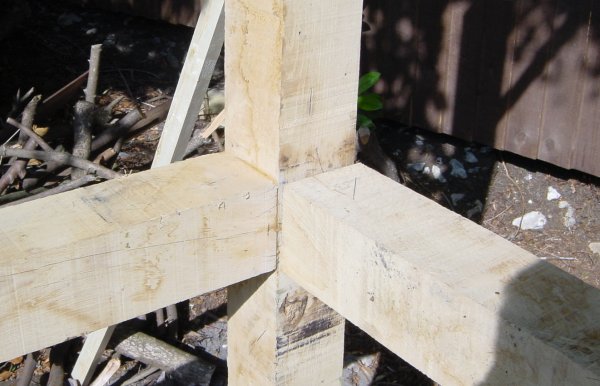
Close-up of the joint at the top of A3 upright
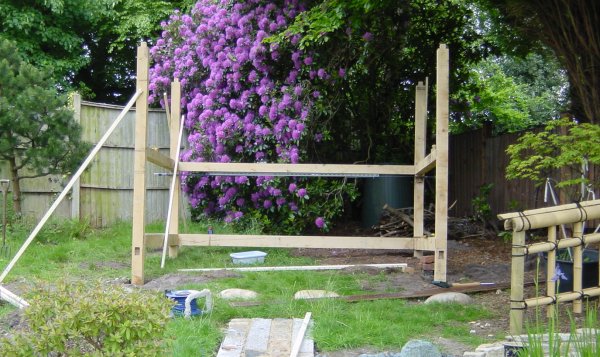
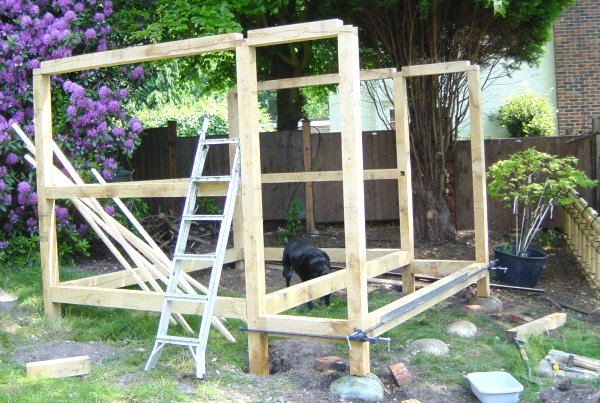
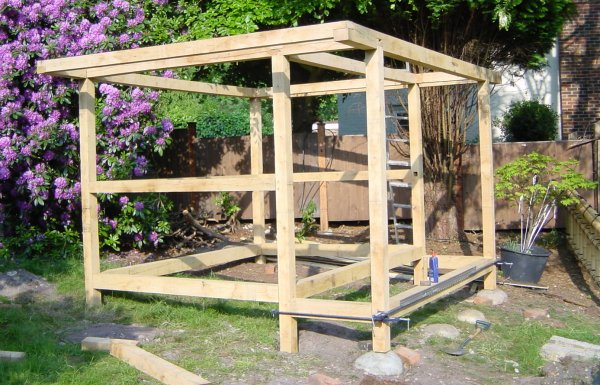
The door floor joist, sides and side tops fitted.
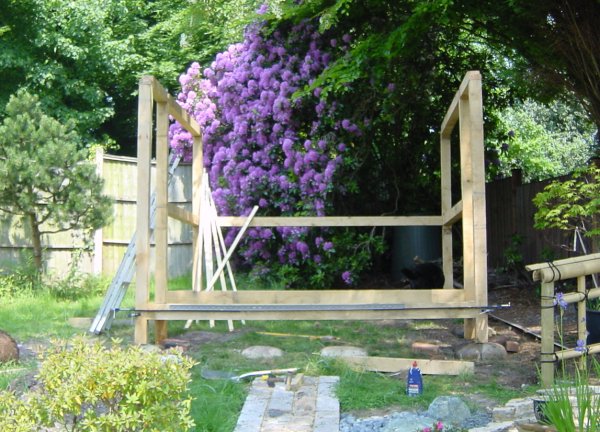
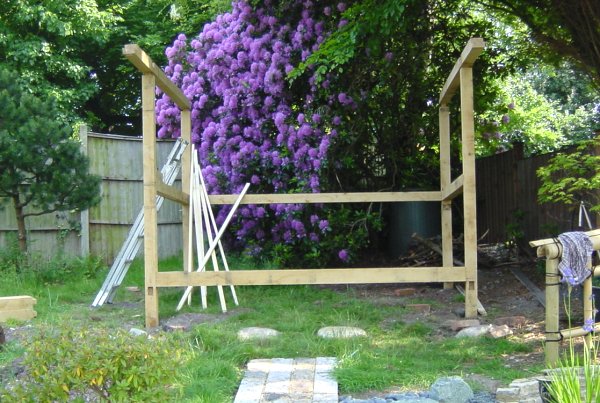
The porch uprights and front floor joist mounted
As above from the side - looking good!
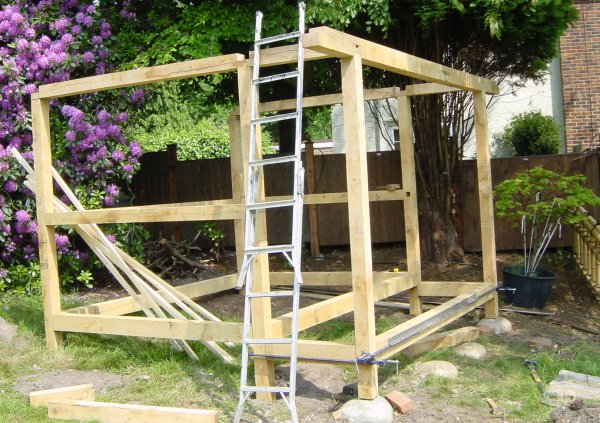
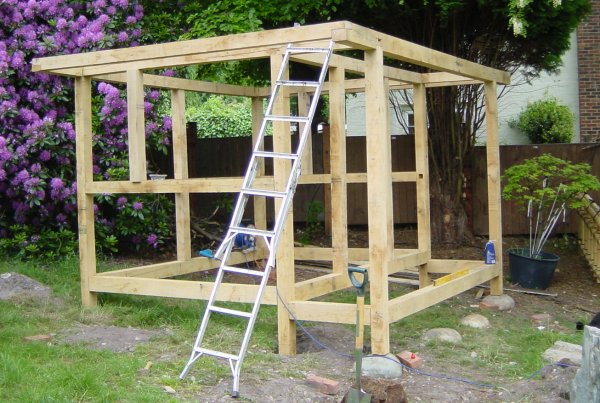
Fitting the 13cm by 10cm by 4m roof joist was interesting
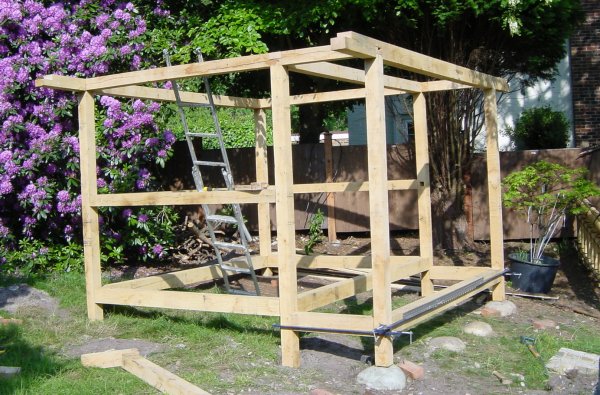
Back and door joists fitted
Fitting the door and the window uprights inside the frame.
Fitting the door and the window uprights inside the frame.

The view from the front - roof next I guess!