
The veranda
The veranda floor is next on the agenda.
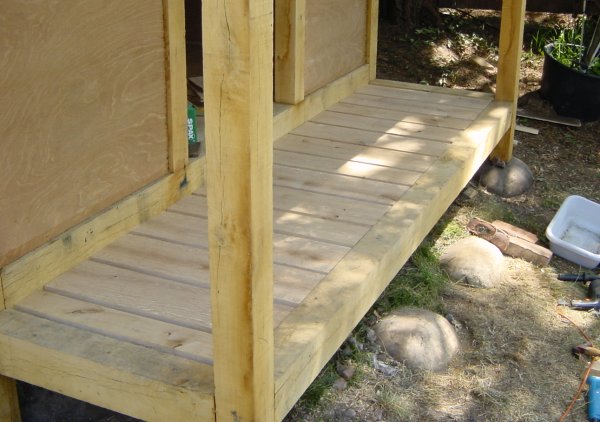
2 4"x2" batons are screwed to the floor joists

Lengths of 6" x 1" oak are then cut to length
Before too long it's finished!Before too long it's finished!
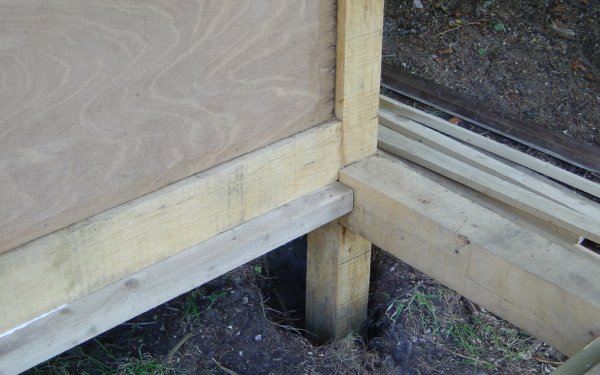
One of the handrail uprights showing the lap joint to the floor joist
The hand rail support in place
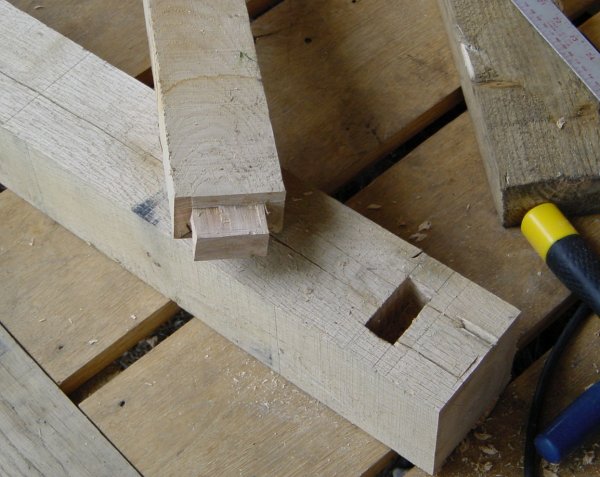
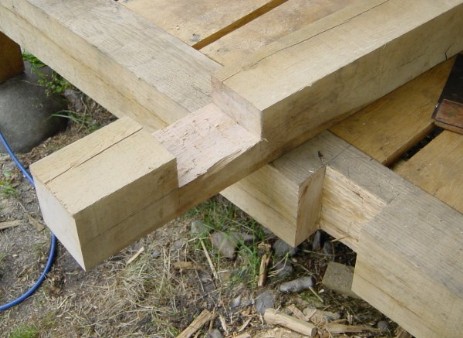
The joint connecting the hand rail to the upright
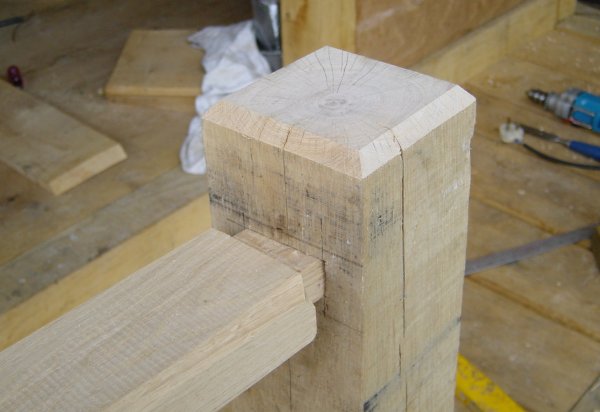
The hand rail after planing and chamfering with a router
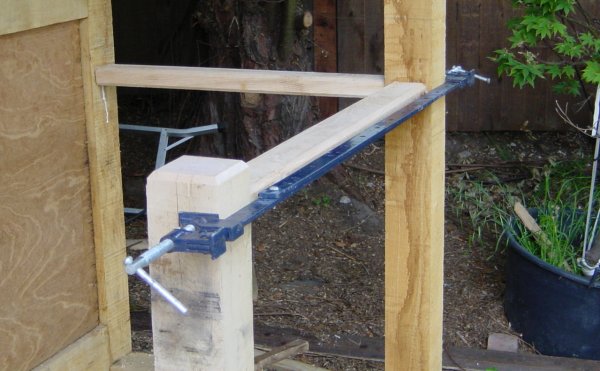
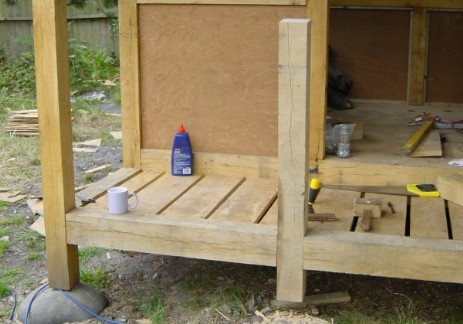
Gluing the handrail and upright into place
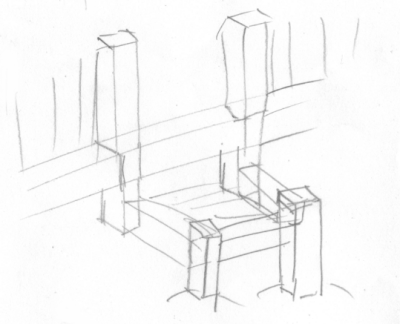
My original idea for the step into the teahouse

Planning the step into the teahouse
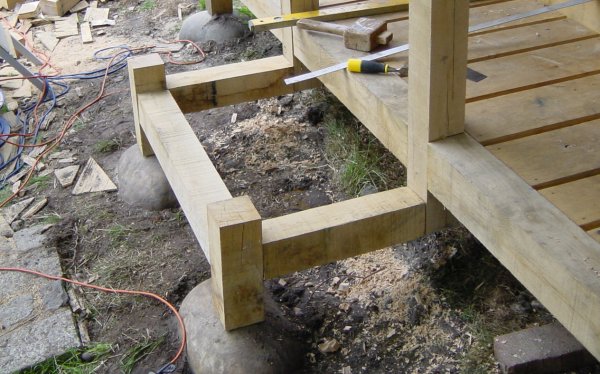
The various bits now fitted together after moving the stones forward
I plan to finish the veranda today with luck.
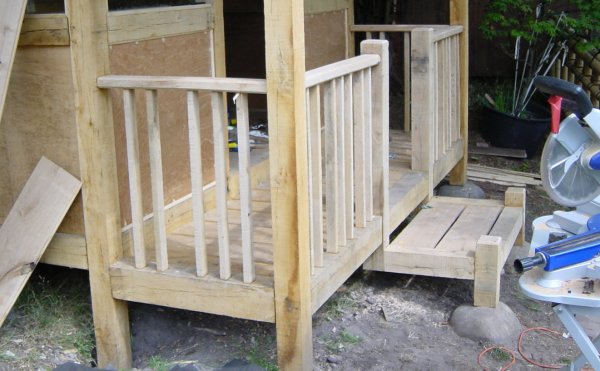
The handrail and step now complete.
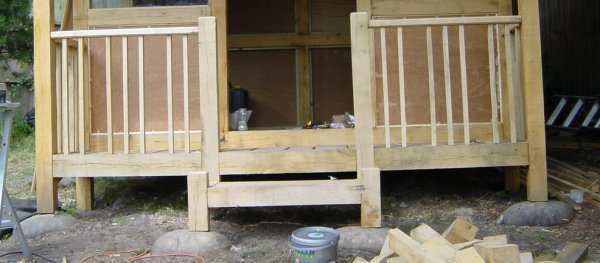
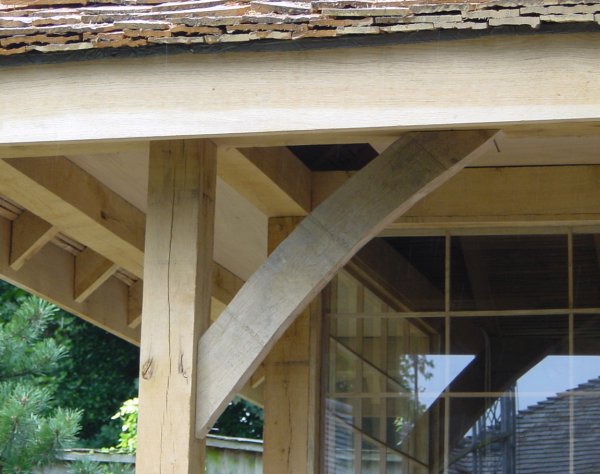
Showing both side of the porch
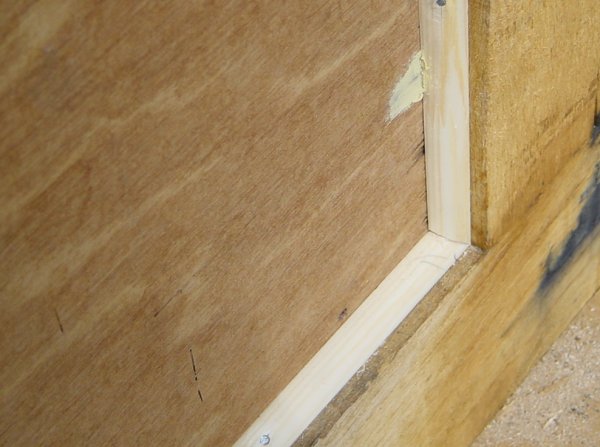
Nailing beading around the edge of the panels on the veranda
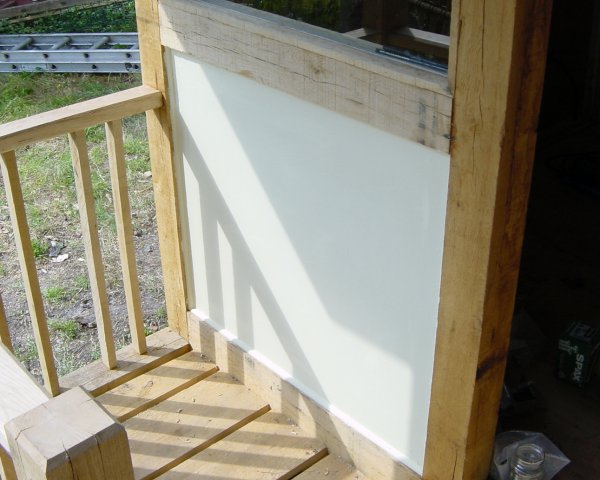
After painting the veranda panels
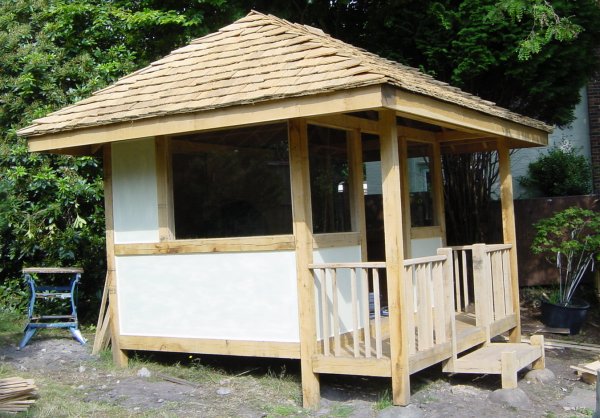
Nearly there - on the outside!
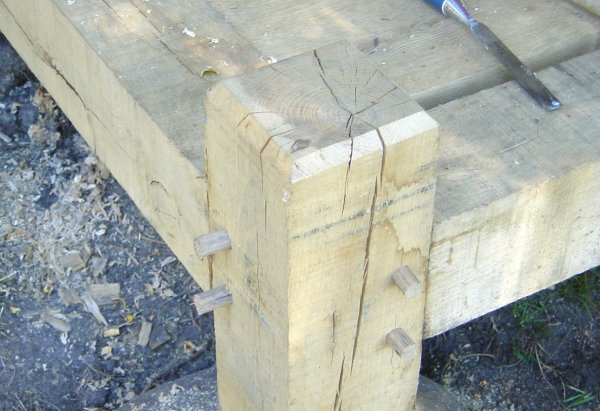
Pegging the joints using 1/2" oak pegs from Coyle Timber
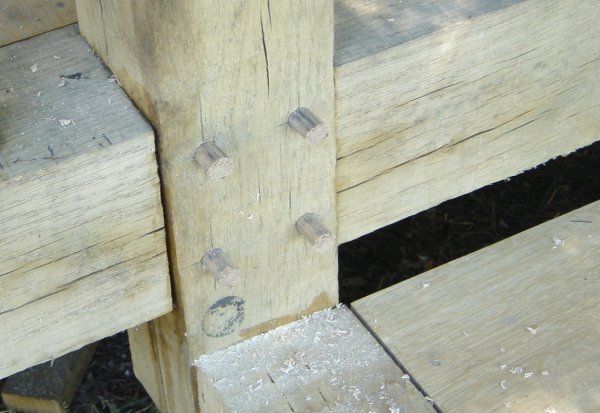
Pegging the joints
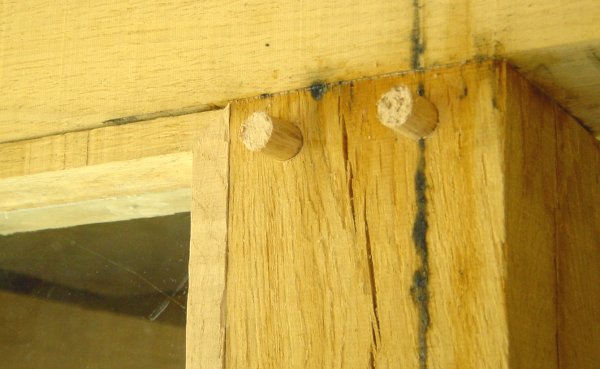
Pegging the joints - more for show than strength!
These match similar ones on the house and on the wisteria pergola
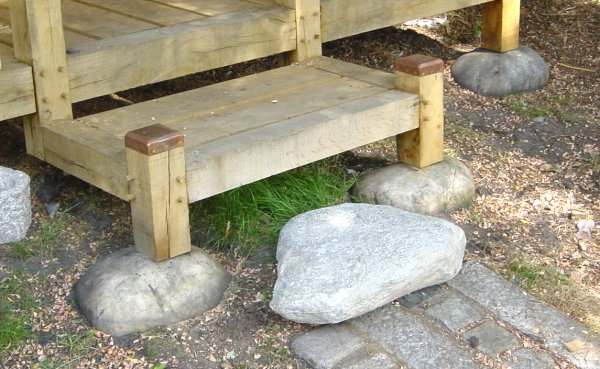
The first granite step just placed roughly